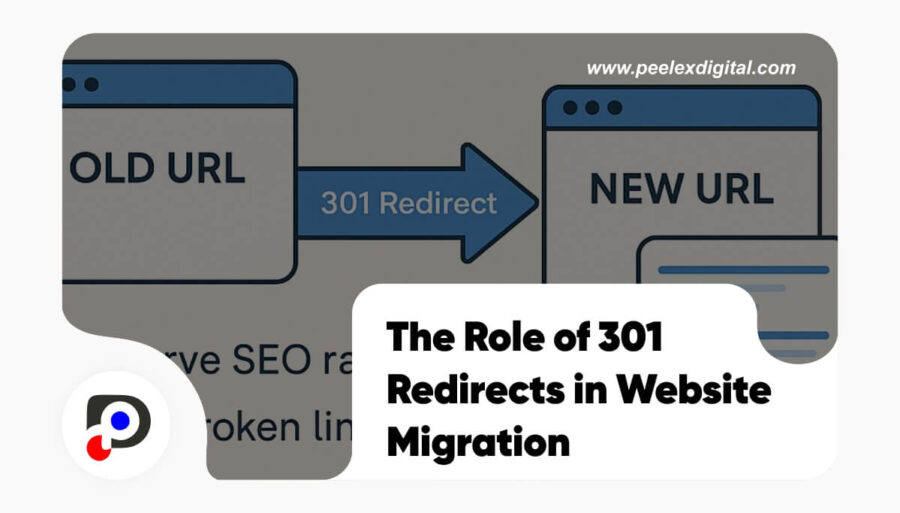
When handling a website migration, one step stands between you and lost SEO traffic: 301 redirects for website migration. These permanent redirects are essential for transferring link equity, keeping rankings stable, and ensuring a smooth experience for users.
Done right, 301 redirects protect your site’s SEO legacy. Done wrong—or skipped—they can lead to lost traffic, broken backlinks, and search engine penalties.
In this guide, you’ll learn why 301 redirects are essential during a website migration, how they impact SEO, and how to implement them properly.
What Is a 301 Redirect?
A 301 redirect is a permanent redirect that signals to browsers and search engines that a page has moved to a new URL. It passes most (if not all) SEO value—such as link equity and search rankings—to the destination page.
Unlike a 302 (temporary) redirect, a 301 is for permanent changes and is the go-to method during migrations.
Why 301 Redirects Are Critical During Migration
Whether you’re:
- Changing domain names
- Moving from HTTP to HTTPS
- Redesigning your URL structure
- Migrating to a new CMS
You’ll likely end up changing URLs. Without 301s, search engines de-index your old pages, backlinks lose their value, and users see 404 errors.
Without proper 301s, you risk:
- SEO rankings dropping
- Backlink equity vanishing
- Increased bounce rates
- Traffic and conversions nosediving
With 301s in place, you:
- Retain search rankings and traffic
- Transfer backlink value
- Maintain a seamless user experience
When to Use 301 Redirects in a Migration
Use them if you’re:
- Switching from example.com to newexample.com
- Changing URL structures (e.g., /blog/post-title → /articles/post-title)
- Moving from HTTP to HTTPS
- Merging or splitting site sections
- Migrating CMS platforms (e.g., from WordPress to Webflow)
Rule of thumb: Every outdated URL must redirect to its updated counterpart.
How to Set Up 301 Redirects for website migration (Step-by-Step)
1. Map Old URLs to New Ones
Use tools like Screaming Frog or Sitebulb to:
- Crawl your existing site
- Export all live URLs
- Map each to its new destination in a spreadsheet
2. Add Redirects to Your Server
Apache (.htaccess):
Redirect 301 /old-page.html https://example.com/new-page/
Nginx:
rewrite ^/old-page.html$ https://example.com/new-page/ permanent;
WordPress Plugins:
3. Test Your Redirects
Use tools like:
- HTTP Status Code Checker
- Screaming Frog (in List Mode)
- Google Search Console’s URL Inspection Tool
Ensure all redirects return a 301 status and go to the correct destination.
4. Update Internal Links
Update your navigation, menus, and in-content links to point directly to new URLs—not through redirects.
- Improves load speed
- Reduces server strain
- Enhances UX and SEO
5. Submit your updated sitemap.
- Generate a fresh sitemap using XML Sitemaps or your CMS
- Submit it in Google Search Console and Bing Webmaster Tools
Best Practices for SEO Redirects for website migration
- Avoid redirect chains and loops
- Don’t point everything to the homepage
- Match URLs contextually (e.g., old blog posts → related new blog posts)
- Monitor for 404s post-launch
- Keep redirects live for 6–12 months minimum (or longer for high-traffic URLs)
Frequently Asked Questions
Will 301 redirects hurt my SEO?
- No—done right, they help preserve rankings and backlink equity.
How long should I keep them live?
- At least 6–12 months. For critical pages, keep them indefinitely.
What’s the difference between 301 and 302?
- 301 = permanent, passes SEO value. 302 = temporary, doesn’t.
Can I use a plugin instead of editing server files?
- Yes—especially if you’re using WordPress or another CMS. Plugins simplify the process.
Don’t risk losing years of SEO work—make 301 redirects a top priority in your migration plan. They’re invisible to users, but invaluable to your search engine performance.
Need Help with Your Website Migration?
Whether it’s mapping redirects, handling implementation, or ensuring nothing slips through the cracks—we’ve got you covered.
Book your free migration audit today →
Let our team handle it so you can focus on your business—not broken links and traffic losses.


